
How to Start your own Worm Farm
A Worm Farm? that sounds complicated, expensive, and dependent on land! But it is none of the above!
Starting a worm farm can be broken into a couple basic steps.
1. Selecting worm farm
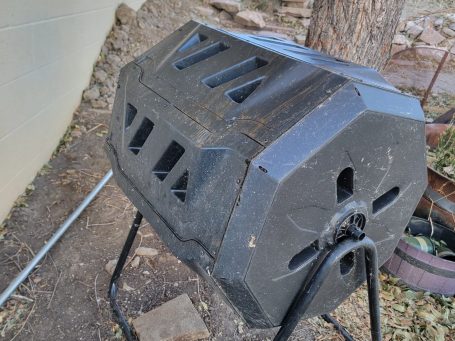
Worm Bins can be purchased or made easily. Purchased: There are several worm farms on the market such as the urban worm bag, the hungry bin, worm factory 360, or hot frog.
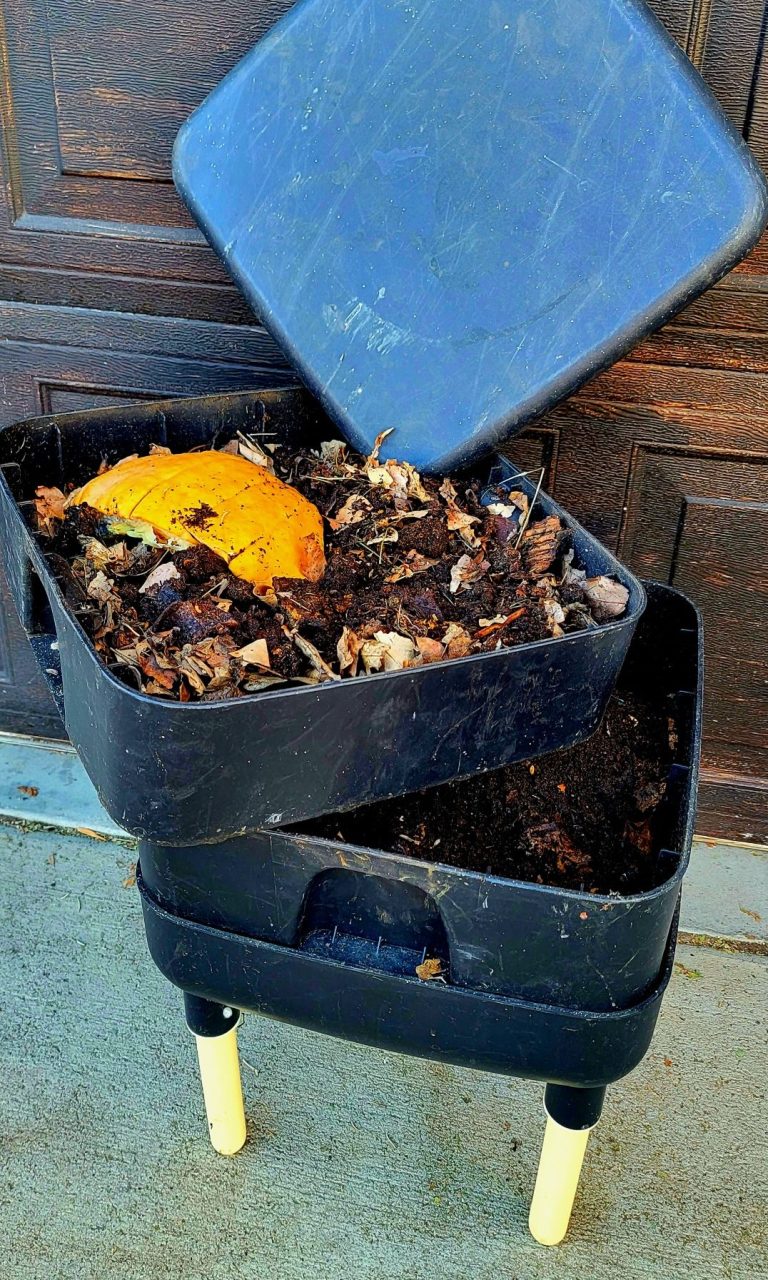
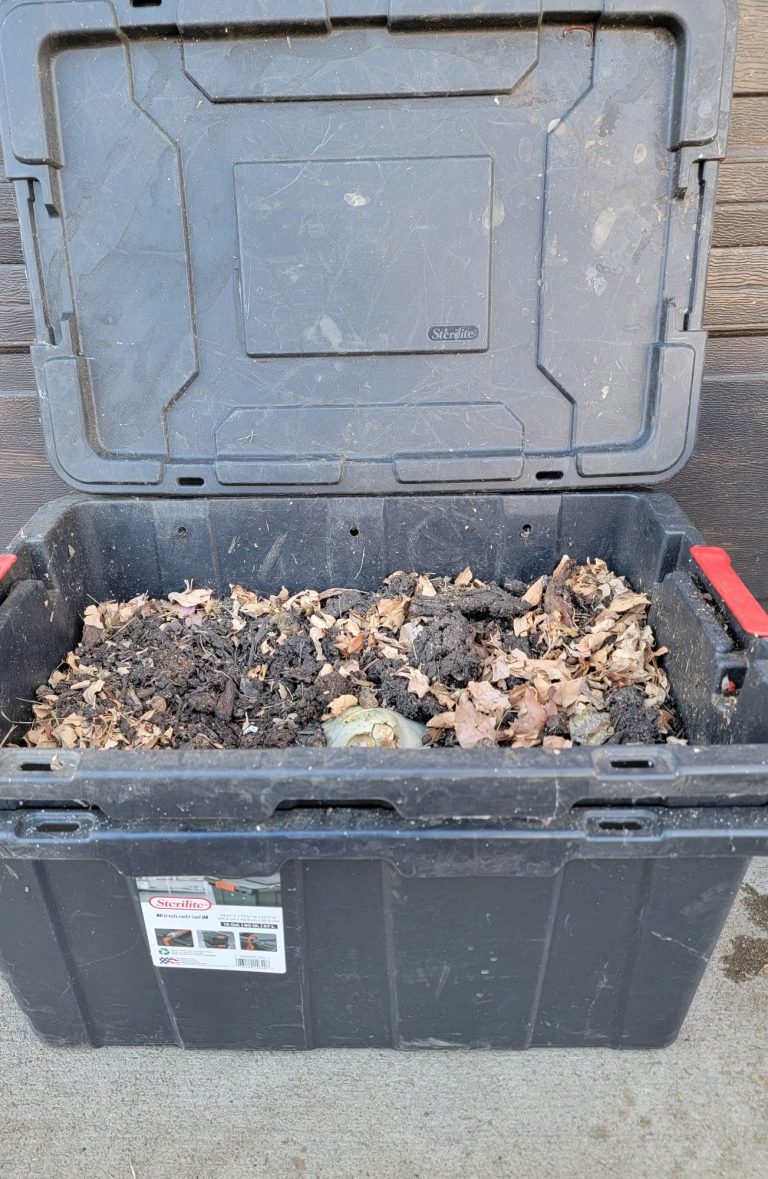
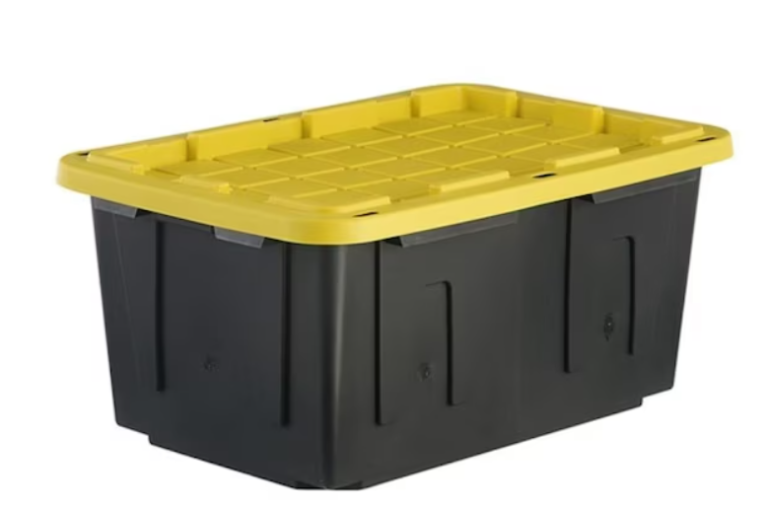
Home made: Simple bins can be made with things as simple as a plastic tote, a bucket, or even a wooden farm.
Typically the goal is shallower bins with more surface area as compost worms stay in the top couple inches of material. For a plastic bin, drill holes in the lid or along the top edge of the tote to allow air at all times. Optional but not mandatory is to drill small holes along the bottom of the tote and place it inside another tote. This allows moisture to drain out the bottom if too much moisture is in the bin. I recommend this if you are just starting, but you can move away as you gain experience. That is it! You have a functioning worm farm
2. Selecting the compost worm
Of all the different worms in the world, there are only a few that are classified as composting worms. Unfortunately, the worms you find in your back yard or on the sidewalk after it rains will not work in a bin. The main composting worms are red wigglers (Eisenia fetida), European Nightcrawlers (Eisenia Hortensis), Indian Blues (perionyx excavatus), and African Nightcrawlers (Eudrilus eugeniae).
red wigglers: These are the hardiest of composting worms as they adapt easily to containers and can survive in a wide range of temperatures/ moistures. Along with this, they reproduce readily and quickly. These traits make them the most common worm used for composting.
European Nightcrawlers: Similar to red wigglers, these worms can live in a variety of temperatures and moistures. They do get slightly bigger and in my experience reproduce a little slower.
Indian Blues: These worms look similar to red wigglers in size and appetite. This being said, they are more tropical type of worms and do not do as well in cooler temperatures. They also are more likely to explore outside of their bin if things are not just right.
African nightcrawlers: These are bigger worms that are great composters. They do require warmer temperatures making them difficult to raise in areas that have cold winters
3. Bedding
The bedding is the main material that the worms live in. A lot of people use peat moss or coco coir but leaves, shredded paper, torn up cardboard, and already composted material also make good bedding. I prefer to do a mixture of many of these to help give several different surfaces.
In the bedding, it is a good idea to add a source of grit (finely crushed egg shells and rock dust are good sources). Many people also add agricultural lime to keep the PH steady in the bi
Moisture: Worms need moisture to breath, but you do not want too much water either. A good rule of thumb is to get the bedding to a point that squeezing the material in your hand will cause only a couple drops of water.
4. Feeding
You can find many different charts showing what can and cannot be given to worms. I will keep it fairly simple and say that any organic material can be fed to worms. I recommend against using meats or dairy, but this is because they smell and will attract unwanted visitors. Acidic fruits are often labeled as a no, but in moderation they are fine.
It is best to pocket feed. This means to put the food in one specific spot in the bin. Then on the next feeding, put it in a different spot. Try to feed only as much as the worms will consume in a week. Too much food can cause the bin to heat up, or cause other problems for the worms.
To avoid bugs, try to cover all food scraps with a thin layer of bedding
5. Maintaining
While worm farms can be left alone for the most part, it is a good idea to check on them on a regular basis. If the bedding is too dry or wet, add bedding or water to get back to ideal.
eventually the worms will start leaving a good amount of castings that will need to be separated and more bedding added to replace.
For small scale I prefer simple bucket sifter with 1/4" openings.

We need your consent to load the translations
We use a third-party service to translate the website content that may collect data about your activity. Please review the details and accept the service to view the translations.